Showing posts with label tutorial. Show all posts

3.21.2013

My Thoughts on Tutorials

I've always (as in, since I started this blog last April) thought it would be really cool to be one of those super-crafty bloggers with loads of amazing tutorials and recipes that everyone loves. 

Then I made a tutorial and realized how strange it would be for me to become that person.


Let me explain my relationship with tutorials:

Using them: I really only look at the pictures in tutorials. If there are no pictures (or fill-in-the-blank templates when it's dealing with HTML stuff for blogging) it's a no-go. Call it laziness, but that's just how it is.  I go about the project, whatever it is, based on the pictures and a quick scan of the page.
Good: This approach let's me be uber-creative with it. Bad: "Uber-creative" doesn't always turn out so well if I'm supposed to be following specific instructions.
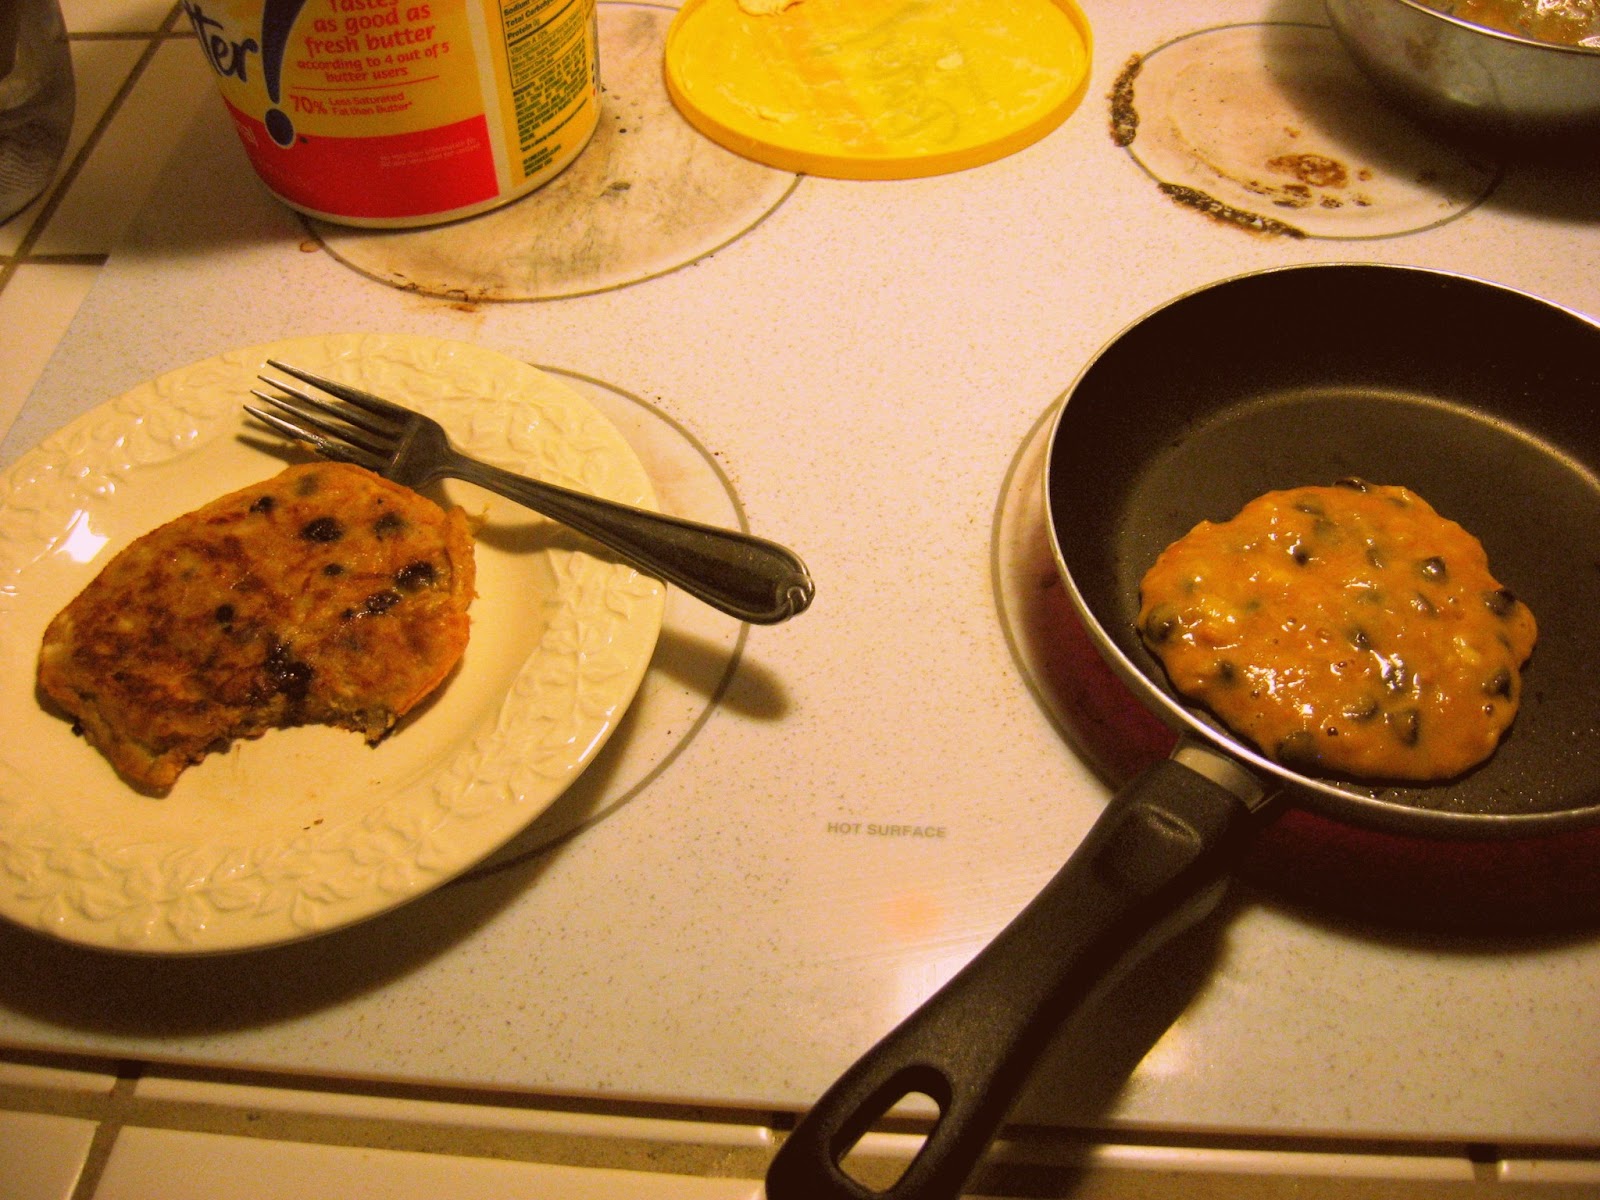
With recipes...I'm just super-talented and I manage to get something wrong regardless of how closely I follow the directions. But then I just add extra flour and everything fixes itself.

Making them: I only give the bare bones details, according to how I went through it. Which was probably the easiest way possible. I'm also prone to use "thingamajig" or "whatchamacallit" in my description.

The verdict: tutorials aren't very me. I'm really glad I've found my place as a "lifestyle" rather than "crafty" blogger - better for you and me both!

What kind of blogger did you start off thinking you would be? Has that changed over time?


3.19.2013

Just Trying to Make Your Life Better

I'm pretty sure the best part of my friends having birthdays is making them cookies...and then me getting to eat the extras.


You've seen this recipe, right?

Peanut Butter and Nutella Cookies

1 cup butter (2 sticks) room temperature
2/3 cup peanut butter (creamy or crunchy – I like crunchy)

1 cup sugar
1 cup brown sugar
2 eggs
2 tsp vanilla
2 2/3 cup flour
2 tsp baking soda

1 tsp salt
heaping 1/3 cup Nutella

Cream butter, peanut butter, sugar, brown sugar, eggs and vanilla together until smooth. Combine flour, baking soda and salt and add to butter mixture. Add Nutella in dollops over the top of the dough.  Use a butter knife to swirl the Nutella through the dough.  Do not over mix.  Chill the dough in fridge for 15 minutes before spooning onto cookie sheet to firm the nutella.  Bake at 350 degrees for 8-10 minutes.  Bake until slightly brown at edges.  Let cool a few minutes on cookie sheet before transferring.


Go make a batch. And eat them warm.
You're welcome.


3.18.2013

Back in the Loop

I didn't have time to read any blogs this past week. Pretty much all I've done is check my emails. I've been rather confused by the sudden influx of emails notifying me of new Bloglovin' followers. 

And now that I'm caught up on blog reading, it all makes sense.
As you all probably already know, GFC/Google Reader/whatever is closing on July 1, 2013. 
Meh. I liked GFC. I've never been a fan of having blog posts delivered to my inbox with Bloglovin'...but I'll do it, just for all of you!

via, edited by me
You can follow me on Bloglovin' HERE.
And just in case you're interested...
Pinterest HERE.
{that's the end of my social-media-ing}

Aaaaaaand HERE is a super easy tutorial from Northern Belle Diaries on importing your GFC list to Bloglovin. So get to it - and have a great week!


2.12.2013

It Really Was Too Good To Be True...


A while ago I pinned these pancakes on Pinterest.

via

3 ingredients, healthy, and delicious - amazing, right?
NO.
It may just be me {which is totally possible. I have a tendency of not quite following directions...but how could I mess this up???}, but these things were nasty. Like "holy-cannoli-let-me-choke-this-down-before-I-gag" nasty.


They may look pretty decent here, but NO. No, no, no. Do not be deceived.
As soon as I finished mixing the batter, I knew it was going to be bad...so I added chocolate chips. Lots and lots of chocolate chips. And they helped a bit. The one on the right in the picture actually ended up tasting all right. I accidentally cooked it veeeery well (like, it was totally black on both sides), but that ended up being a good thing. I took my attention away from the nastiness of the pancake itself.

It was a very filling breakfast - but I've definitely learned that if something sounds too good to be true...it probably is.

However, if you are still crazy enough to try these...things...after reading this post, a few recommendations:
#1) Mash the bananas thoroughly. And once you think you've mashed them thoroughly, mash them some more. And then a couple more times. I'm thinking it might help the texture.
#2) The recipe calls for almond butter...and maybe it actually needed almond butter and you shouldn't substitute that for peanut butter. Maybe.
#3) Have add-ins. I really don't think I would have finished them if I didn't know I'd be getting a nice dose of chocolate with each bite. You could go a healthier route, I suppose, with berries or whatnot...but where's the fun in that?
#4) Burn them black. None of this "golden" trash.

Best of luck. Let me know how it turns out if you go ahead with this. 
I, for one, will never be attempting these again.

11.13.2012

How To...Post Regularly When Life is INSANE

Okay guys, I think I've got it figured out.

via

One of my goals here was to find a way to post regularly even through school, and  I think I've got a pretty good system going {besides that one week...we're ignoring that one week}. 

via

Here's how you do it:

+ Still write posts the day of as often as possible
+Whenever you have a thought that you know you could blog about, open a new post, title it, and type up that idea
+As there's time, complete the idea and add pictures

Then, when the need arises, I have an almost complete post waiting for me that I add a sentence to and voila - it's ready to publish. And it's kind of funny, because that's the process that was used for this post ... it's been sitting around for months waiting to be finished. So here's proof that it works!

Having regular weekly/monthly posts {i.e. Dear Boys, High 5 for Friday, Me, Myself & I} is nice, too - one less day to worry about!

But then the problem arises when you've used all of your pre-made posts and are somewhat inspirationless...at least tomorrrow's a Dear Boys day!


P.S. I'm grateful for
+ waking up on time for the first time in a week!
+ eggs on toasted sourdough bread
+ Costco pumpkin streusel muffins...how have I been missing out on these?

Covered in Grace

8.18.2012

It's a Bird! It's a Plane!

...It's my super-awesome reverse-applique Superman t-shirt!


I was going to a superhero themed event, and I didn't own anything remotely superhero related, and I'm too cheap/broke to go out and buy anything, so I whipped up this baby! 

I used the men's tee to a flattering tee tutorial from Cotton & Curls to refashion a men's t-shirt, then reverse appliqued the superman symbol on the chest using leftover black fabric from this project.


You've actually already seen this, because I was wearing it with my red pencil skirt when I took pictures for this tutorial, which was right before I left for the event. 

I love DIY!


7.22.2012

Jersey Knit Pencil Skirt {A Tutorial}

Or, All Right, I'm Legit Now

I saw this tutorial on Merrick's Art and loved it, but I don't own any pencil skirt to trace. However, I've had this {unexplainable and unreasonable} thing against pencil skirts {much like my former thing against jeggings}, and I didn't own any pencil skirts to trace. So I had to do it my own way.

Nothing makes you feel like a legit blogger like posting an actual tutorial. And so, without further ado, I bring you the

PENCIL SKIRT FROM A MAN'S T-SHIRT
tutorial

#1) Get a man's t-shirt. Mine was from my dad, but you could steal it from a brother or significant other - or if all else fails, but one at the 99 Cents Store (over here, we're all cheap thrifty). Mine was size XL.


#2) Make your pattern. I taped a couple pieces of old newspaper together, but you could probably use anything. You'll need to take your measurements. Measure in the marked places in the image below, and measure how far in between those lines. Divide each of those measurements in half and use them to make your pattern.


This was my pattern:


#3) Lay the pattern on the shirt (which should be inside-out), lining up the bottom of the pattern with the bottom of the shirt. Pin around the pattern.


#4) Sew with a zig-zag stitch along the inside of the pins

#5) Cut off excess fabric

#6) Fold over top and sew to make waistband

#7) Turn right side out and rock it!


It is so incredibly comfy - and I'm pretty sure it has more leg-room than most pencil skirts. I think I'm going to have to try all of the trends I'm against right now, seeing how much I love my pencil skirt and skinny jeans!

E-mail me or comment with any questions!


Linking up with Sundae Scoop at I {Heart} Nap Time, the Sunday Showcase Party at Under the Table Dreaming, Made by You Monday at Skip to My Lou, Market Yourself Monday at Sumo's Sweet Stuff, the DIY Project Parade at the DIY Show-off, Craft-O-Maniac Monday at Craft-O-Maniac, Motivate Me Monday at Keeping it Simple, Get Your Craft On at Today's Creative Blog, Talent Tuesday at Vintage Wanna Bee, Show Me What Ya Got at Not Just a Housewife, Tutorial Tuesday at Hope Studios, Create and Share at the Trendy Treehouse, Adorned from Above, Hookin' Up with HoH, Show Off Friday


Tip Junkie handmade projects
here


Related Posts Plugin for WordPress, Blogger...